So I found these instructions for making tissue poms. I loved the look but I wanted to create the poms as more permanent decoration for the bedroom. I knew that to do it well enough to keep around I would need practice. The apartment has been looking super bare now that the Christmas decorations have been put away and since Valentine's Day is coming up, I practiced with shades of pink. My first attempt was...well, my first attempt.
There were several sites with instructions and advice. Cutting the tissue paper ends in a rounded way made it seem more childish. All the sites warned that the more tissue layers the better.
For this first one, I used only eight sheets, the suggested amount. I didn't have any wire so I improvised with twist ties. Initially, I used thread and tape to attach it to the ceiling but it kept falling down, creeping me out.
My second attempt was much better and I think with a few more tissue layers, I'll have this pom thing down.
I used 12 sheets and it gave the pom a much fuller look. This time I cut the ends into points which made it seem much less like a craft project and more like decor. To get the ends exact with all of the layers, I worked on smaller groupings than trying to cut all the ends together.
Neither poms would stay attached to the ceiling with thread and tape so I moved them into the living room doorways and tied yarn to the wires. Matching the yarn to the trim, I hooked the poms onto nails above the doorways for some holiday decorations.
Yes, that would be our coaxial cord coming from the other room. Sadly, the living room isn't cable equipped and its fallen off the priority list. But I digress!
The poms are lookin' good! Now I'll be picking out colors for another couple poms for the bedroom.
Write the things which thou hast seen, and the things which are, and the things which shall be hereafter…
Thursday, January 20, 2011
Sunday, January 16, 2011
New Years Resolution
I don't usually make resolutions since I'm still a student and January just marks the year's mid-point but I figure I can re-try earlier and unsuccessful attempts by starting a New Years resolution. A few months ago, I saw an Apartment Therapy post about cleaning only 20 minutes a day for thirty days. So I turned the list into a calendar.
I'm hoping to keep to the calendar since I don't have a long day this semester as I had for the fall.
Friday, January 14, 2011
extra holiday cheer
After my project with the wreath, I had extra garland strands. Like the wreaths, the garlands were pretty thin. I laid out the two strands of silver and red, twirling them together somewhat unsuccessfully. I was on a time constraint so the spacing was inconsistent.
I draped it along my two DVD towers and with such a long length, there was no need to secure it in place.
For $2, the garland made a big difference and took only a few minutes.
I draped it along my two DVD towers and with such a long length, there was no need to secure it in place.
For $2, the garland made a big difference and took only a few minutes.
Tuesday, January 11, 2011
the most wonderful time of the year
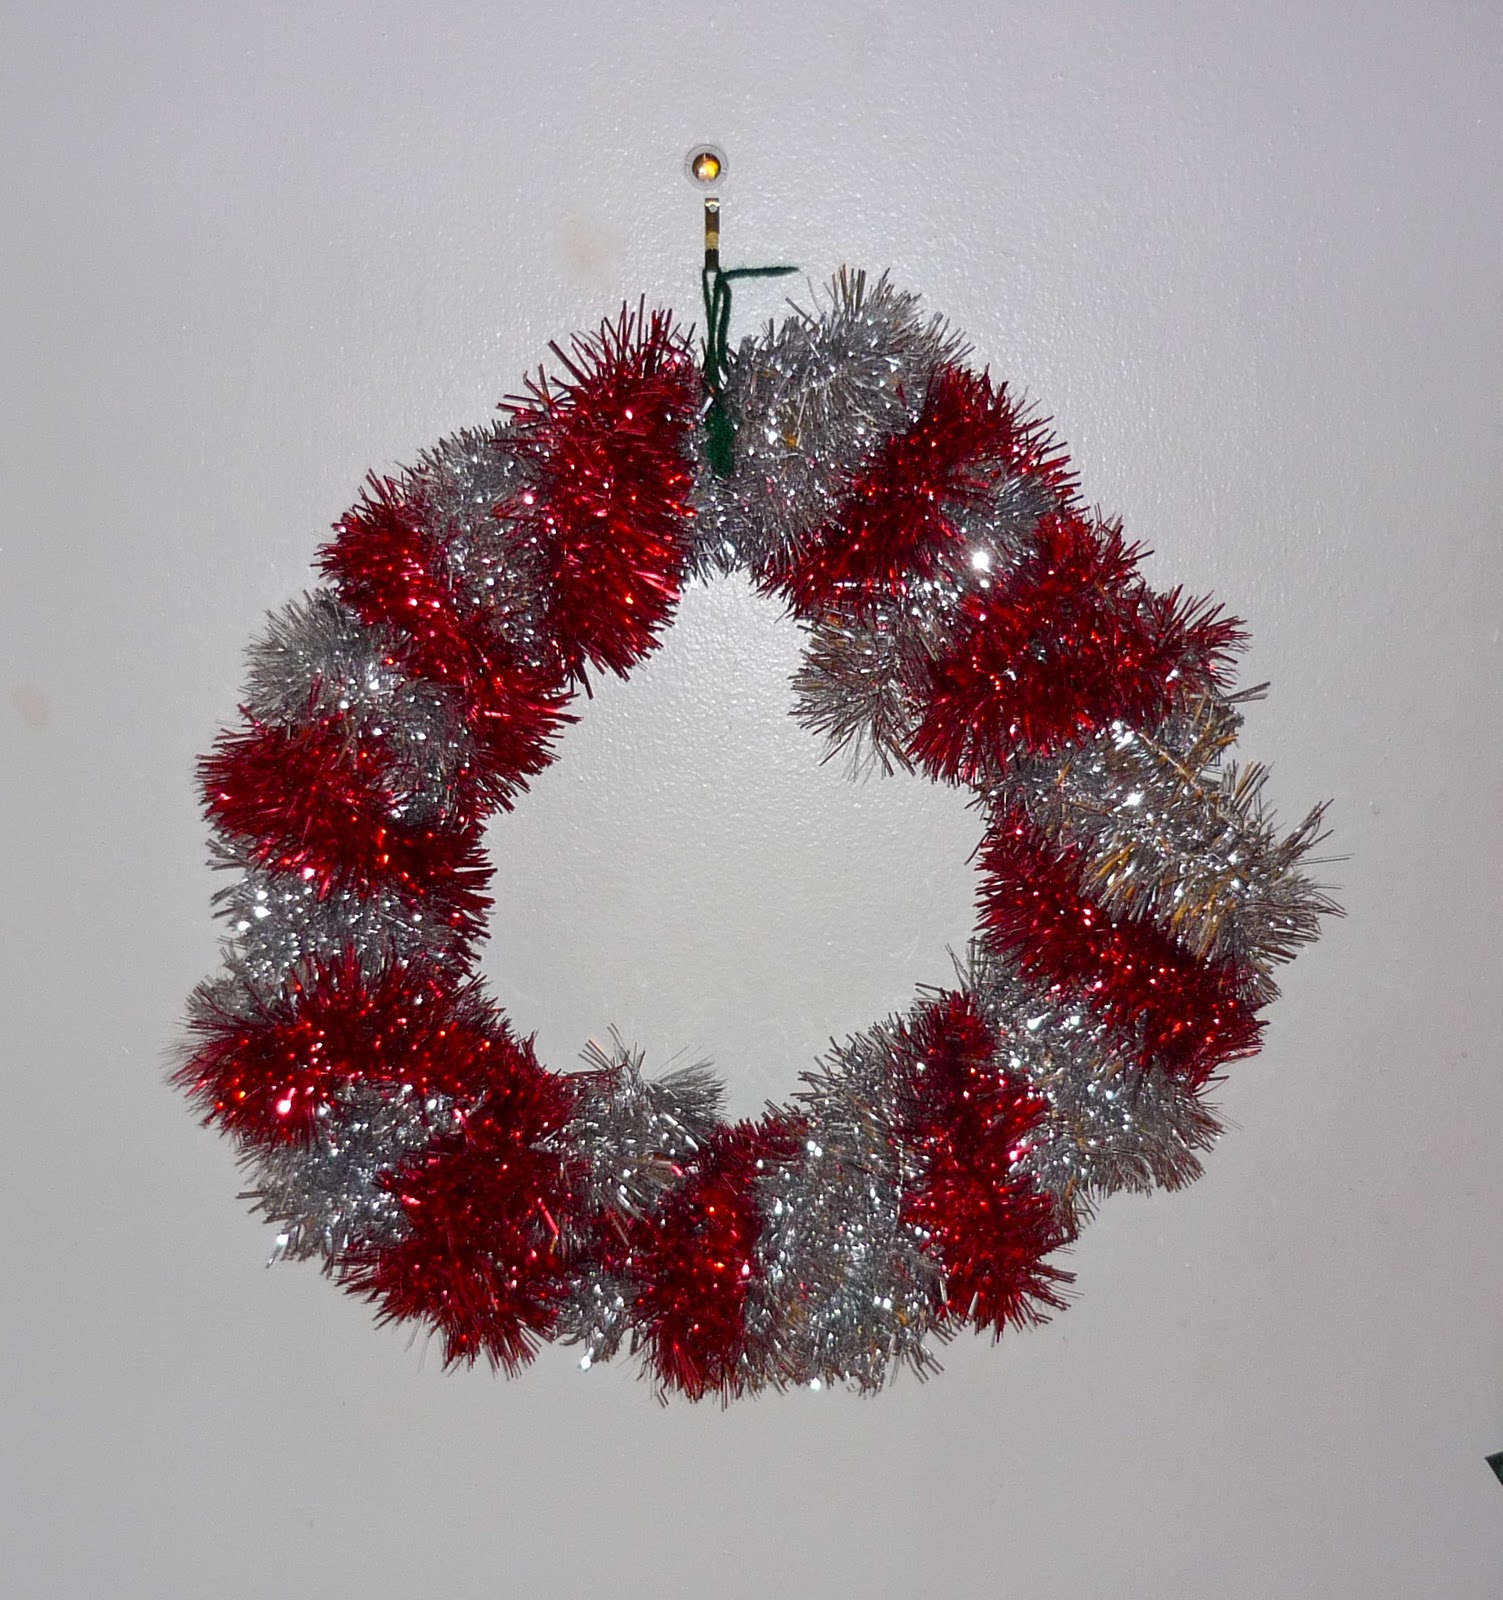
This year I felt our Christmas decorations was a bit lacking since we moved to a larger apartment. I found this garland project that I thought I could execute pretty easily. After trying multiple stores with no luck on the garland, I adjusted the idea by buying a sparse wreath and several strings of garland from the dollar bin section at Target. I wrapped the matching color of garland around the wreath to make it thicker. Then I wrapped the red garland around for a candy cane inspired wreath.
Next Christmas, I think I'll get some wire instead of the very obvious green yarn to hang the wreath on the door. This was a quick project to brighten up our stark white door.
Monday, January 10, 2011
Bully Jack O'Lantern
I'd like to preface this masterpiece by stating that this is my first time carving a pumpkin. When I was little, my parents got us small pumpkins we painted and my dad carved a large pumpkin to put on our porch. This year Steve and I wanted to enjoy Halloween so we picked up a couple of medium pumpkins from our local produce store.
We searched for designs online and sketched them onto the pumpkins. Then the carving commenced.
Mine, on the left, took a lot longer, or really, I was slower than Steve's on the right. Look at that bully picking on my pumpkin.
I really enjoyed creating my pumpkin, even if it molded and leaked before Halloween. If I don't truly build-up and enjoy Halloween, the whole holiday season goes by too quickly so I think this tradition is here to stay.
Saturday, January 8, 2011
More Tastiness
One Halloween my sister came over with a graveyard pudding dessert and I've been looking to have it ever since. A step beyond the usual dirt pudding, I decided to get domestic this Halloween and rediscovered the recipe.
I tried to kill two birds with one stone by buying gel for the witches' hat cookies, which didn't turn out so great for those cookies, but the gel worked perfectly for my headstones. I used upside down candy corn for the fence.
Spooky to be drawing my own gravestone but oh so tasty.
I tried to kill two birds with one stone by buying gel for the witches' hat cookies, which didn't turn out so great for those cookies, but the gel worked perfectly for my headstones. I used upside down candy corn for the fence.
Spooky to be drawing my own gravestone but oh so tasty.
Friday, January 7, 2011
Poor Witch: misplaced her hat and finger
When I was little, my mom made Witches' Hat cookies. Using Kebler Fudge Stripe cookies and Hershey Kisses, melt the bottom of the Kisses and place them on to the upside down cookies.
Use a frosting tube and tip to outline a ribbon for the hat. I tried using gel since it was cheaper. I had less control and they didn't come out as well.
These cookies are simple, quick, and are tasty with the added chocolate.
Use a frosting tube and tip to outline a ribbon for the hat. I tried using gel since it was cheaper. I had less control and they didn't come out as well.
These cookies are simple, quick, and are tasty with the added chocolate.
Subscribe to:
Posts (Atom)